A roof water diverter is a simple yet effective tool that redirects rainwater away from vulnerable spots on your home. It prevents leaks, pooling, and erosion that lead to costly repairs. Proper use keeps your roof maintenance easy and your house roof safe during heavy rains.
What Is a Roof Water Diverter?
A roof water diverter sits on the roof edge or near walls to guide water toward gutters or downspouts. Its L-shaped design catches runoff and channels it safely away from doors, windows, and foundations. These devices come in metal or plastic forms and fit under shingles for a clean look.
Made from materials like aluminum, galvanized steel, or flexible PVC, a roof water diverter handles harsh weather without rusting if sealed well.
It works by slowing water flow at key points, reducing splash-back and ice dams in cold areas. Tags like roof damage and roof work often link to these tools in home guides.
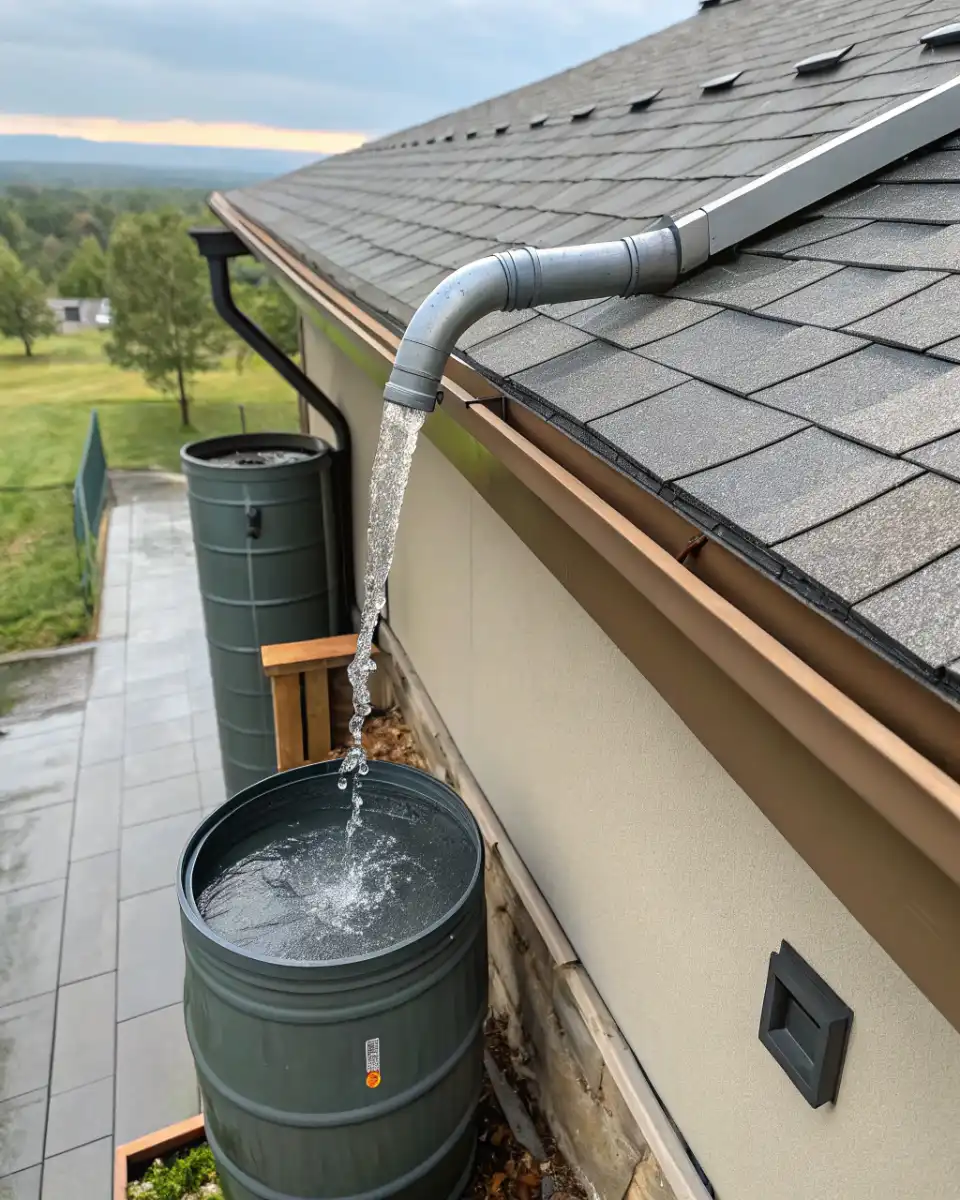
Homeowners install them above entryways to keep walkways dry. Unlike full gutters, a roof water diverter targets problem spots only, making it a quick fix for house roof issues. Recent models blend with modern roofs for better curb appeal.
Key Benefits of Roof Water Diverters
Roof water diverters stop water from seeping under shingles, which protects your home’s structure from rot and mold.
They cut repair costs by keeping foundations dry and walls free of stains. Low upkeep means occasional checks during roof maintenance suffice.
These tools promote eco-friendly habits by directing water to barrels for garden use, saving on bills. They reduce soil erosion around your home, preventing cracks in driveways. In heavy storms, a roof water diverter ensures safe entries without puddles.
For families, dry doorways mean less slip risk. They extend shingle life by avoiding backup damage. Overall, investing in a roof water diverter pays off through fewer insurance claims tied to roof damage.
Types of Roof Water Diverters
| Type | Material | Best For | Pros | Cons | Cost Range (2025) |
| Kick-Out Diverter | Aluminum/Steel | Roof-to-wall junctions | Handles high volume, durable | Needs precise angle | $20-50 |
| Corner Diverter | Galvanized Metal | Roof corners | Prevents pooling at edges | Visible on some roofs | $15-40 |
| Flexible Plastic | PVC/Polymer | Irregular roof shapes | Easy DIY, moldable | Less durable in wind | $10-30 |
| Valley Diverter | Copper/Aluminum | Roof valleys | Manages heavy runoff | Complex install | $30-60 |
| Roof Leak Diverter | Vinyl-Coated Fabric | Indoor leak protection | Temporary, catches drips | Not permanent | $50-100 |
This table compares options based on 2025 availability. Choose by roof pitch and weather exposure. Metal types lead sales for longevity.
How a Roof Water Diverter Works
Rain flows down the slope until it hits the diverter’s curved lip. The flat base under shingles holds it steady while the exposed part funnels water sideways to downspouts. Tilting one end by an inch directs flow better, avoiding backups.
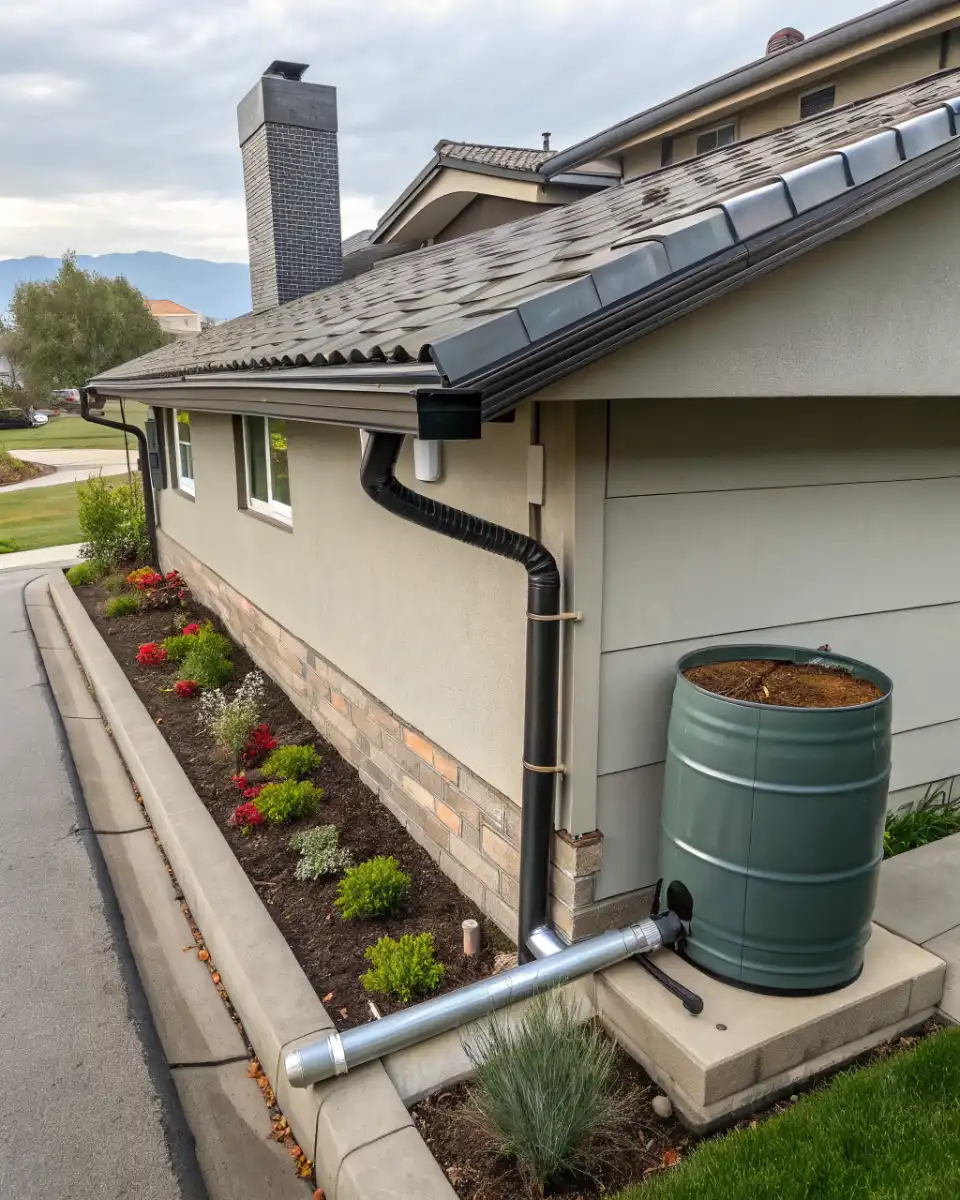
In action, it breaks water streams to minimize splash. Paired with flashing, a roof water diverter seals gaps near chimneys or dormers. Sensors in smart 2025 models alert to clogs via apps, tying into gutter innovations.
During freezes, it stops dam formation by spreading flow. Tests show it cuts entryway wetting by 90%. Simple physics makes it reliable year-round.
Step-by-Step Installation Guide
Lift shingles two rows from the edge with a pry bar. Slide the roof water diverter under, centering over the target area like a doorway.
Nail it down through pre-drilled holes, keeping nails under shingles. Angle one side lower for runoff. Seal edges and nails with roofing cement.
Press shingles back and let sealant cure 24 hours. Test with a hose. Pros handle steep roofs; DIY suits flat ones.
Tools needed: Pry bar, hammer, sealant, nails. Takes 30 minutes per unit. Check local codes for house roof work.
2025 Updates and Innovations
No major standard changes hit roof water diverters in 2025, but gutter integrations advanced. Smart systems now pair with diverters for auto-cleaning via sensors.
New vinyl roof leak diverters like Ultra-Drip offer indoor backups for leaks. DryFlekt kick-outs meet updated IRC codes with TPO gaskets. Stainless steel options resist corrosion better amid climate shifts.
Modular designs speed installs, cutting labor 20%. Eco-materials promote harvesting. Expect AI predictions in premium kits soon.
Maintenance Tips for Longevity
Inspect a roof water diverter twice yearly, clearing debris post-storm. Reapply sealant if cracks show during roof maintenance.
Paint metal types every few years to fight rust. Check alignment after winds. Pair with gutter guards for best results.
Signs of failure: Rust stains or pooling below. Replace flexible ones every 5 years. Budget $50 yearly for checks to avoid roof damage.
Common Mistakes to Avoid
Skip full roof coverage; focus on hotspots. Wrong angle causes overflows. Never nail through shingles topside.
Ignore sealant; leaks follow. Over-tighten damages decking. Test post-install.

Buying cheap plastics fails in hail. Match material to roof type.
Protecting Your Home Long-Term
A roof water diverter guards against erosion, leaks, and mold for decades. Combine with eavestroughs for full coverage. It boosts resale value by showing proactive roof work.
For More Roof Repair and Maintenance Visit Classic Roofing Restoration Page