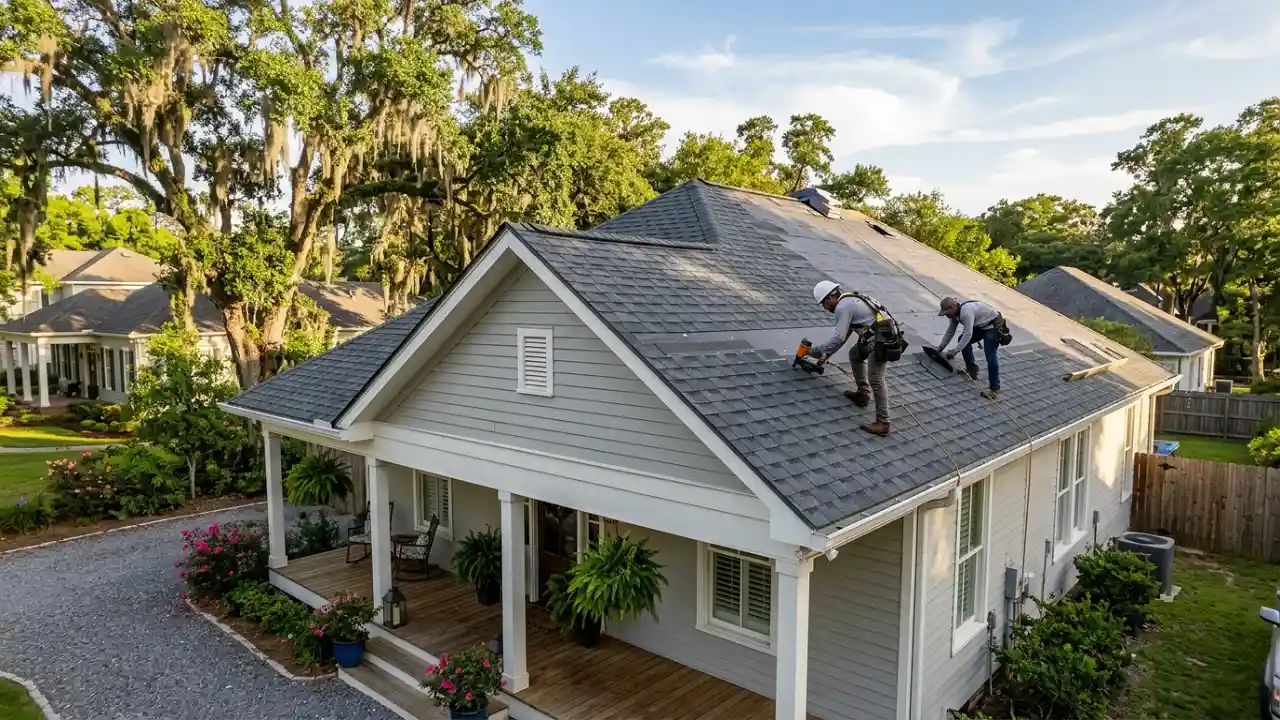
Drip Edge on Roof are essential components of a roof system that can protect a home from potential water damage. They channel water from the edges of a roof into the gutters which prevents rotting and water leaks. This article will elucidate the purpose, benefits and installation of a drip edge.
What Is a Drip Edge on Roof?
To answer the question, “What is a Drip Edge on Roof?”; it is an L shaped flashing made of metal that is installed along the edges of a roof.
The vertical part is installed below the shingles, while the other part covers the fascia board. This design is purposeful as it directs water to the gutters, instead of sitting under the shingles.
A drip edge on a roof provides a barrier which prevents water from getting into vulnerable areas. Roof Failure time, rain can get into the roof deck which can cause wood to rot and mold to form.
This is why many building codes require a drip edge be installed on a roof to protect the building from the damage caused by mold and rotting wood.

Why Drip Edge Matters for Roof Protection
Water is a roof’s biggest enemy, and a drip edge on roof acts as the first line of defense.
It channels moisture away from the fascia and soffit, which are the first to sustain damage due to moisture. In heavy rain and wind-driven storms, it prevents water from flowing backwards under the shingles.
Design failure of a roof often occurs due to edges and bad water management, which ties into issues of roof work to common roof setups and styles of a house. Drip edges on roofs prolong the lifespan of these components by years.
New updates to roofing standards for 2025 make it mandatory for all shingle roofs to comply with the new wind and water resistance standards.
Drip Edges Make a Difference
A Drip Edge on Roof has a lot to offer and aids in multiple protection layers that will economically benefit the homeowner in the long run.
- Prevents the risk of mold and rot by stopping water from getting under shingles.
- Saves costly wood replacements by stopping saturation of fascia and soffit boards.
- Reduces overflowing issues by boosting gutter function and funneling water directly to them.
- Adds to roof edge stability and keeps shingles in place during strong winds.
- Prevents edge gaps from being entry points for rodents and insects.
Especially in rainy climates, these benefits make having a drip edge on the roof a must. Homeowners notice less leaks after adding them during normal roof maintenance.
Varieties of Drip Edges
There are multiple varieties of drip edges to meet differing needs of roofs. Most common are the D-style, L-style and T-style drip edges.
| Type | Shape Description | Best For | Material Options | Cost Range (per linear foot) |
| D-Style | Rounded lip like a “D” | Standard shingle roofs | Aluminum, Steel | $1.50 – $3.00 |
| L-Style | Simple L-shape with straight lip | Low-slope or retrofit roofs | Galvanized Steel | $1.20 – $2.50 |
| T-Style | T-shaped for extra overhang | High-wind areas | Copper, Aluminum | $2.50 – $5.00 |
Select according to your roof designs. Aluminum is ideal in coastal areas for it’s rust resistance.
Steps to Add a Drip Edge on a Roof
For safety reasons, it is best to leave the installation to professionals. Start from the lowest edge, such as the front fascia.
- Roof sections need to be measured and cut to fit the pieces of your drip edge.
- Beneath the starter shingles, secure under the vertical leg with a nail, 2 inches from the edge.
- Cover the fascia with the horizontal lip and secure it with roofing nails every 8 to 10 inches.
- Caulk the joints after overlapping the ends by 2 inches.
- After field shingles, install rakes (side edges), tucking them in.
For each corner, miter-cut details at 45 degrees to achieve a seamless fit. Steep roofs require safety gear. An average home takes a few hours to install a roof drip edge.
Mistakes to Avoid
DIY errors often stem from a lack of experience, and in some cases, skipped overlaps grant water access. Insufficient nailing heights on the vertical leg leave it susceptible to wind uplift.
- Do not install over shingles; for a better seal, tuck.
- Avoid the cheap plastic version. They will crack in the cold.
- Base your local codes on metal gauge; the gauge should be thicker for hail-prone areas.
- Don’t paint? If you want to match colors, primer is needed for galvanized steel.
Doing these during your roof work stops future roof failing. Check the 2025 codes, which require at least 0.027 inches of aluminum thickness.
Drip Edge in Different Roof Styles
A Drip Edge on Roof works with any roof styles design. Whether it is a gable or hip roof, it will fit seamlessly. It works with roofs like mansard or gambrel, just use extended lips for the steeper edges.

Specialized clips can be used with metal roofs. For flat roofs, combine with gravel stops. Always align with gutter placement for max flow.
Retrofits on older house roofs shine here, solving chronic leak spots without full replacement.
Maintenance and Inspection Tips
Keeping your drip edges on your roof in top shape yearly. Look for gaps, holes, or rust during gutter cleans.
- Straighten bent lips with pliers.
- To Sections, re nail lifting them.
- Replace damaged pieces with matching original type.
- Inspect changes after storms for wind shifts.
Straightforward maintenance stops huge roof work expenses. Combining with new spiral screw shafts at the fascia is recommended.
2025 Updates on Drip Edge Standards
The most recent 2025 Canadian roofing guidelines require better drip edges for the climate to be improved. New ASTM standards covering the edge of the roof and drip edges increase the width to 1.5 inches or greater facing out to shed water better during worsening rain.
The newer IRC guidelines require drip edges on eaves and rakes which are in hurricane exposure zone 2 (high winds). Materials such as recycled aluminum are emerging, and qualify for the new building eco standards.
These changes have improved edge failure insurance claims by 20% from industry statistics.
When You Should Reroute Replace Your Drip Edge on Roof
Signs can include things like overflowing gutters, your fascia paint peeling, or the edges of your shingles being lifted. If it’s over 20 years old, replace during the next re-roofing.
Age, storm damage, or corrosion signal it’s time. Expect to pay about $500 to $1500 on a standard home, materials included. For New gutters partnered with a drip edge for full protection, it’s time to replace your gutters.
Cost breakdown for drip edge projects
| Project Size | Avg. Cost (Materials + Labor) | Timeframe | ROI Estimate |
| Small (500 sq ft) | $300 – $600 | 1 day | 5-7 years |
| Medium Home | $800 – $1500 | 1-2 days | 3-5 years |
| Large (2000+ sq ft) | $2000+ | 2-3 days | 2-4 years |
Cost of a drip edge projects breaks down to each area’s materials plus labor costs. You will save with Spaved damage from the drip edge cost.

Conclusion
A Drip Edge on Roof may be small to a roof, but it saves the house significantly. From preventing water damage to keeping the roof more secure, drip edges solve a lot of the roof problems.
It is a good idea to put a drip edge on your roof no matter the type, it’s a good idea to put a drip edge on your roof no matter the type, your roof will thank you.
For More Roof Repair and Maintenance Visit Classic Roofing Restoration Page