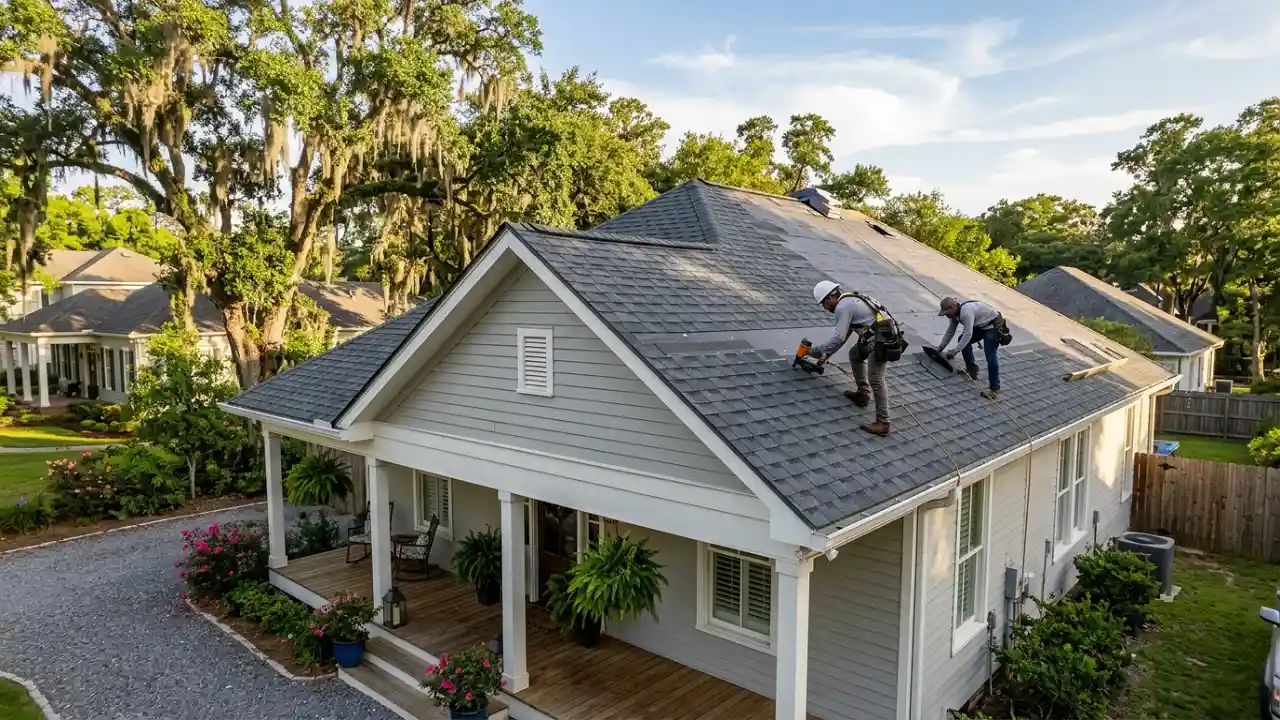
Putting in Roof Ventilation Installation is one of the best ways to keep a home comfortable, save on energy bills, and increase the lifespan of the roofing system.
With the advances in ventilation systems, there is better control in energy efficient airflow that cools homes in the summer and makes the home healthier all year round.
Proper ventilation systems, in addition to controlling rain and roof moisture, manage the temperature of the space under the roofing system, no matter if the roof is a simple hip roof, a butterfly roof with interesting angled edges, or a covered patio.
Proper ventilation systems also control attic moisture and temperature, preventing damage and accumulation of excess moisture.
Why Roof Ventilation Installation Matters in 2025?
Advances in the 2025 Roof Ventilation Installation technologies like solar powered fans and better designed rooftop venting systems also save energy. Roof ventilation systems as a whole increases ventilation and air circulation in the building.

Proper ventilation balanced attic temperatures and moisture levels. The 2025 roof ventilation systems increase ventilation circulation air and control moisture levels in the building. Proper roof ventilation systems save energy. Roof ventilation systems save energy.
When it comes to roof ventilation, it is more critical for certain roof types like raked roofs or hip roofs due to their different airflow dynamics.
Even patio roofs, which are outdoor roofs, will benefit from heat-venting designs. Properly installing roof ventilation will preserve the entire roofing structure while improving the air quality in the house.
7 Smart Steps for Roof Ventilation Installation
Step 1: Assess Your Roof and Home Ventilation Needs
To start, determine what the Roof Ventilation Installation needs are. What is the roof type, and what is the roof pancake ventilation type? What is the total square footage of the attic or roof area?
Are there any vents, like soffit vents at the house eaves, or ridge vents along the peak? Determine the types of roofs as well, since the roof may be a traditional hip roof or a modern butterfly roof. This will help you understand the airflow patterns in the roof.
Integrated in the ventilation area calculation is the basic 1:300 rule. This means for every 300 square feet of attic space, there is 1 square foot of ventilation.
This rule ensures a proper relationship between the intake vent (usually at the eaves) and the exhaust vent (near the roof ridge).
Step 2: Choose the Right Vent Types
Depending on the Roof Ventilation Installation style and the climate, some vents are better suited than others. In 2025, some of the most popular roof vents are soffit vents.
Which provide intake ventilation, and ridge vents, which provide exhaust ventilation, along with the newer solar-powered vent fans for active ventilation. Here are some of the most common vents and what they do:
- Soffit Vents:Placed under the eaves and draw cool air in.
- Ridge Vents:Run along roof ridges and exhaust warm air.
- Turbine (Whirlybird) Vents:Use wind power and spin to pull out hot air and cool the roof.
- Solar-Powered Vents:Use sunlight to power active ventilation fans.
- Box (Turtle) Vents:Passive vents placed on flat or hip roofs.
Pick vents that fit the style and type of roof you have, e.g. rake roof which has ridge and soffit vents to allow chimney-like airflow.
Step 3: Measure and Mark Vent Locations
Proper vent placement is critical. Mark vent locations with measurements suited to your attic’s size and shape.
The position of the intake vents should be balanced and aligned along the house eaves or soffits, Roofmax cost the exhaust vents should be placed at the highest point of the roof, to release the hot air efficiently.
Step 4: Prepare the Roof Surface
Before you install anything, make sure there are no obstructions or trash that could be in your roofline or your attic. This will help everything ventilate properly and reduce the risk of blockages.

If you are putting vents on an old roof, make sure you are removing shingles or roofing materials in a way that lets you add an vent and still keep the roof watertight.
Step 5: Cut Openings for Vents
Using the vent markings, cut safe and properly sized voids for the vents, while making sure you are following the manufacturer’s guide. Something like a jigsaw or a circular saw could work for that task.
At this step, you will need to be accurate to make sure there are no structural losses and to make sure the vents will fit nicely.
Step 6: Install Vents and Seal
Now you need to put the vent units in the voids you created and assured to follow the Roof Ventilation Installation guide.
Use a weatherproof sealant and flashing to seal the vent area on the roof. This helps waterproof your roof and prevents leaking.
Step 7: Inspect and Maintain Ventilation System
Vent systems must be maintenance free. That means no obstruction, no damage, and no debris on the intake vents while the exhaust vents should be free of blockages or pests of any kind.
Unobstructed vents will improve airflow and make the vent system last longer.

Roof Vent Types and Their Ideal Uses in 2025
| Vent Type | Description | Best Roof Types | Cost Range (USD) | Energy Features |
| Soffit Vents | Intake vents under eaves, let air into attic | All roof types, esp. hip & rake | $290 – $475 | Passive, essential intake |
| Ridge Vents | Exhaust vents along roof peak | Hip roofs, butterfly roofs | $240 – $600 | Passive exhaust, continuous airflow |
| Turbine Vents | Wind-powered spinning vents | Patio roofs, some outdoor roofs | $65 – $250 | Passive, wind-powered active vent |
| Solar-Powered Fans | Powered by solar energy, active ventilation | All roof types | $335 – $1,200 | Energy-efficient, smart control |
| Box (Turtle) Vents | Simple square passive vents | Flat roofs, hip roofs | $55 – $200 | Passive, affordable |
Helpful Hints When Installing Roof Ventilation
- Maintain balance between your intake and exhaust vents for proper airflow.
- For improved energy efficiency, consider the roof vents and insulation together.
- Weather-proof your vents and use the right sealants to avoid leaks.
- For complicated roof styles, like butterfly roofs, it’s best to get a roof vent pro to adjust the roof vent spacing.
- Mold, ice dams, and heat damage caused by trapped air can be avoided by regularly checking your vent system.
All in , Roof Ventilation Will Lead to a Healthier, Cooler Home
Any homeowner wanting a cooler, more energy-efficient home for 2025 must add roof ventilation.
After assessing your roof type, choosing the vents, installing, and performing regular maintenance, comfort and protection of your roof are guaranteed, and your energy costs will go down.
Proper ventilation will protect your home and enhance your living environment, no matter the type of roof you have. It is easier than ever to add roof ventilation systems with the use of solar-powered fans and other modern-day styles.
For More Roof Repair and Maintenance Visit Classic Roofing Restoration Page