Introduction
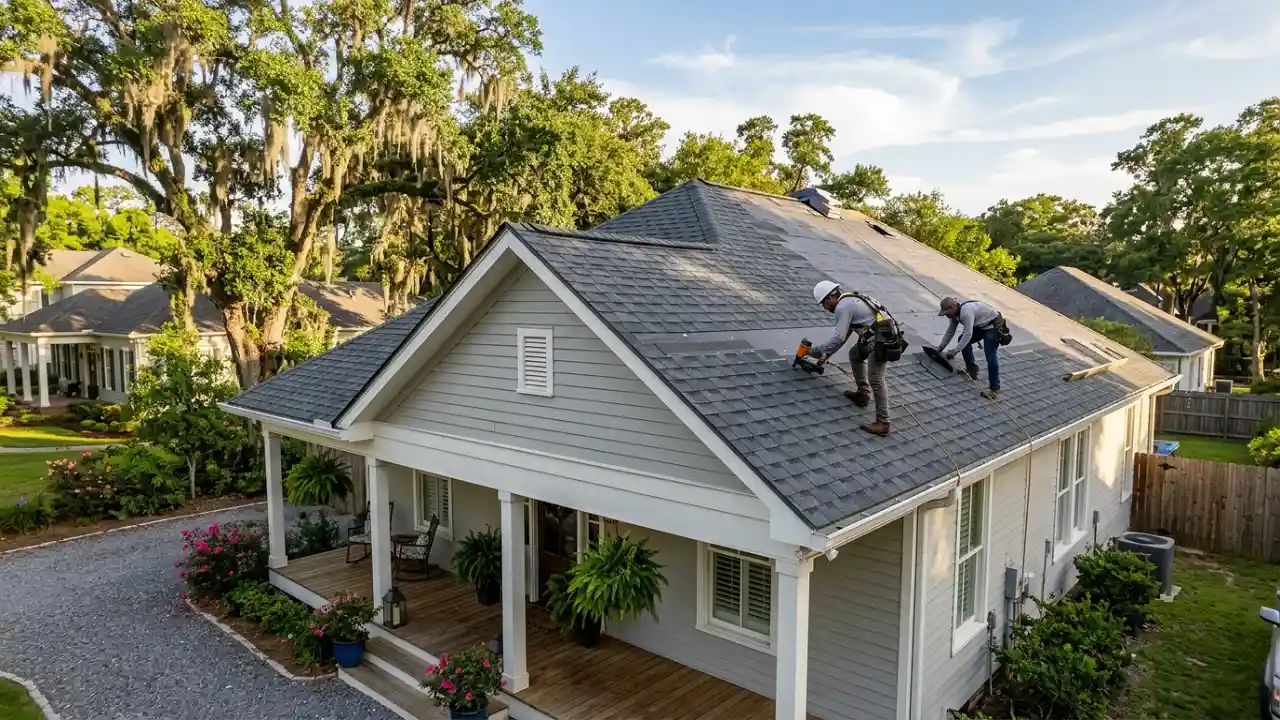
For homeowners, leaks and water damage pose some of the toughest challenges. One of the best investments a homeowner can make is to mitigate the potential source of leaks water damage, and rot along the roof’s vulnerable edges.
To mitigate this risk, a homeowner can add a drip edge roof system. This basic water management system directs water off the roof, protecting a structure from leaks, rot, and expensive roofing problems. This guide shows how to install a drip edge roof to stop potential leaks before they start.
Designed to provide the necessary information and confidence to ensure a leak-proof roof in 2025 and the years to come, whether you’re doing roof work for the first time, replacing a damaged portion, or collaborating with professional roofers.
What Is a Drip Edge Roof?
A drip edge roof is a roof that has a thin sheet of metal flashing installed on the roof’s edges. Its primary purpose is to guide water away from the fascia and the roof deck into the gutters. This keeps the roof, the walls, and the foundation dry.

Drip edges are not only made of aluminum or galvanized steel, but they are also one of the most modern roofing regulations considering they have to be made of corrosion resistant materials.
Benefits of Use
- Funnel rainwater efficiently to gutter systems
- Avoids water seeping under the shingles and roof deck
- Avoids the rotting of wood over the roof and fascia
- Reduces the number of roof repairs and increases the overall longevity of the roof
- Prevents wind and rain, and also acts as a shield against animals.
Drip Edge Latest Updates for 2025
Due to the rising concern surrounding storm and climate emergencies, roofing standards and codes for 2025 place more concern around the roof installation of a drip edge. Recent professional literature has introduced new methods, materials, and best practices that include:
- Using 2″ drip edge flanges for enhanced protective coverage.
- Ensuring that there is a minimum 1/4″ drop below the roof deck with a “kickout” bend on the bottom of the flashing.
- Overlapping the joints by two inches will ensure watertightness.
- Drip edges will be secured in place every twelve inches rest, with screws or corrosion-resistant nails.
- Correct underlayment placement receives special focus; just under the drip edge at the eaves, but over it along the rake edges.
Drip Edge Roof Types

Various drip edge designs meet different architecture and roofing needs. Most common nowadays are the following:
| Type | Description | Best For | 2025 Code Highlights |
| L-Shaped | Basic “L” form, horizontal under shingle + short vertical face | Eaves & standard roofs | Minimum 2″ flange, overlapped fits |
| T-Style | Extra-tall vertical edge for more diversion | High-slope roofs or storm-prone areas | 1/4″ drop required, heavy-gauge metal |
| F-Style | Extended bottom flange for fascia protection | Wide/overhanging eaves | Strong kickout for runoff |
Drip Edge Roof Installation: A Step-By-Step Guide
1. Gather Tools and Materials
You will need the following basics:
- Drip edge metal (L, T, or F-shape),
- Corrosion-resistant screws or roofing nails,
- Hammer or drill,
- Tin snips or metal shears,
- Tape measure and chalk line,
- Underlayment (roofing felt or synthetic),
- Ladder, gloves, and safety equipment.
2. Prepare the Roof Deck
Check to ensure the deck, eaves, and fascia are all clean and dry, and free of damage or rot. If working on a replacement project, check for and remove old drip edge or debris.
3. Install Underlayment
The roofing underlayment should be laid out over the entire roof deck. At the eaves, the underlayment should extend a little past the roof edge, Roof Failure but not cover the area where the drip edge will sit. This will allow for proper overlap later on.
4. 4 Install Drip Edge Along the Eaves
Starting from a lower corner of the roof,
Place the first piece of drip edge with the longer horizontal flange underneath the underlayment, and the short vertical edge over the fascia and into the gutter.
Secure it with nails or screws every 12 inches near the top (these will be covered by the shingles).
Each new drip edge piece should overlap the previous one by 2 inches for waterproofing.
Use tin snips to cut around corners or at the ridge with the folded edges for a neat fit.
5. 5 Install Drip Edge Along the Rake (Gable Ends)
In this case, the drip edge piece is ON TOP of the Underlayment.
Secure it with the same nailing pattern as the eaves and overlap the joints as previously described to create a continuous barrier.
6. 6 Fit and Fasten at Roof Ridge
At the top ridge, hold the drip edge up and mark and cut to fit with tin snips as described in the previous page.
The drip edge must be folded or notched to fit the angle of the ridge.
Use one nail on the outermost part to temporarily secure and hold in place.
7. Installation of the Shingles
After aligning and securing the drip edges, proceed to your first course of shingles, which will be placed overlapping the drip edge.
This overlapping will create a watertight transition where water will always run off, and never run behind the drip edge.
Common Problems and Solutions for the Drip Edge on a Roof
| Problem | Cause | Solution |
| Leaks at corners | Pieces not overlapped or cut properly | Overlap by 2 inches; ensure snug, bent fit |
| Nail rust/staining | Improper fastener type used | Use corrosion-resistant roofing nails or screws |
| Water behind drip edge | Incorrect placement over/underlay | Eaves: under underlayment; Rakes: over underlayment |
| Drip edge lifting/wind damage | Nails spaced too far apart; not secure | Fasten every 12 inches; extra secure in wind zones |
| Gutters overflow | Flange doesn’t reach or kick out enough | Use 2″ flange with strong kickout, as 2025 codes recommend |
Advice for Continued Protection
- To prevent water build-up, and subsequently, allow for proper drainage, gutters should be cleared a minimum of twice a year.
- As for the drip edge, a yearly inspection looking for signs of rust, and damage from lifting, and after severe weather, should be performed.
- Repair or replace any missed or damaged sections of drip edges without delay to continue any mitigation efforts.
- Inspect for wildlife; drip edges also discourage animals from chewing on the roof edges.

Importance of Properly Installed Drip Edge Roof
Without properly installed drip edges on the roof, your home is vulnerable to rot, leaks, damaged fascia, and ultimately complete roof failure.
Even the smallest mistakes, such as putting the drip edge over the Underlayment at the eaves, allows water to flow under the shingles and will result in costly repairs and possibly a voided warranty.
The increased frequency of severe weather, particularly heavy rain and snow, highlights the value of adhering to the guidelines for 2025.
There has been a significant increase in roof damage and related insurance claims, reinforcing the importance of a fully functioning drip edge system for home sustenance and for roofers, the value has increased as well.
When to Engage Professional Roof Installers
- Although driven DIYers can typically manage drip edge installation, don’t hesitate to call certified roof installers in cases such as the following:
- When the roof is steep, has a complex design, or is more than 2 stories
- When there is fascia rot or major underlayment failure present
- When safe access or appropriate tools are lacking
- When the project is part of a large roof replacement or restoration
A professional assessment will ensure that every detail, from the selection of materials to weatherproofing, is done in a way that meets the code and maximizes lifespan.
Conclusion
Drip edge roofs offer some of the best leak and water protection. Following the recommended best installation practices through 2025, the spacing of fasteners, and the quality of the materials reduces the chances of spending on roof repairs, replacements, and other myriad roof complications.
Leaks will most likely be avoided if attention is given to joint overlaps. When it comes to leak detection and the subsequent repairs, it is always better, and most likely cheaper, to work on prevention. Always include drip edge roofs in every roofing work, and you will be doing your home a persistent favor.
For More Roof Repair and Maintenance Visit Classic Roofing Restoration Page