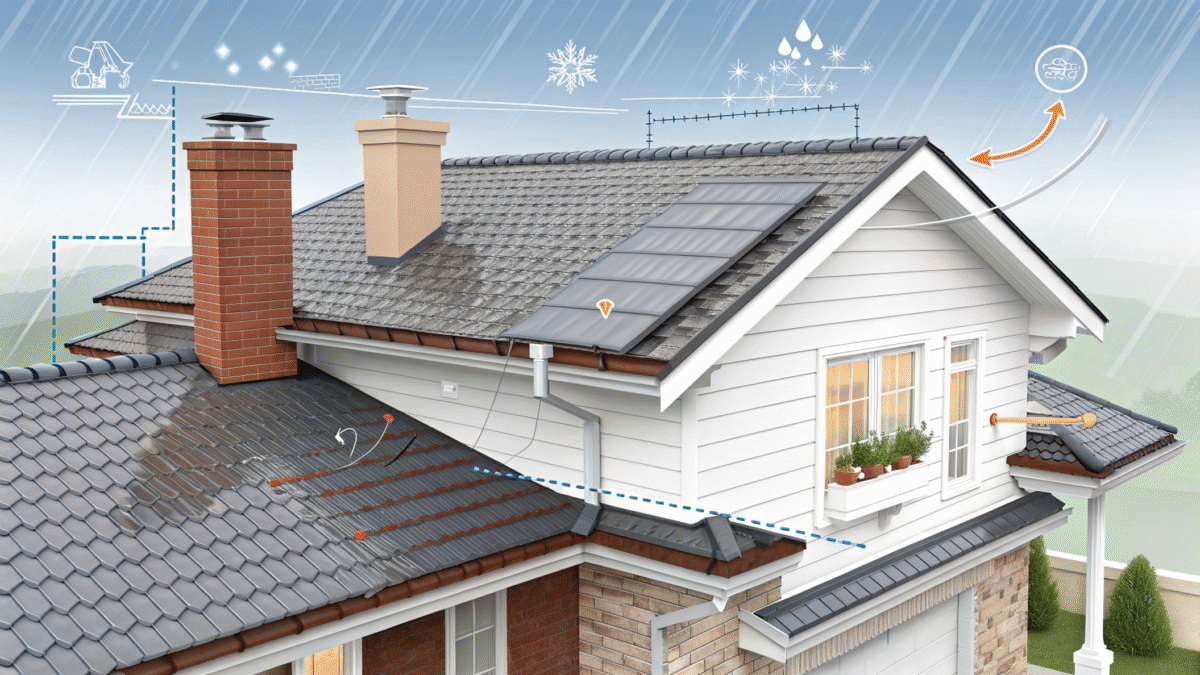
When it comes to roofing systems, Roof Flashings are among the most critical yet often overlooked components. These thin pieces of waterproof material serve as your home’s first line of defense against water infiltration at vulnerable joints and transitions. Understanding flashings—what they are, where they’re used, and why they matter—can help you prevent costly water damage and extend your roof’s lifespan significantly.
What Are Flashings?
Flashings are thin sheets of waterproof material, typically metal or synthetic compounds, installed at critical junctions on your roof to direct water away from vulnerable areas. These protective barriers are strategically placed wherever two different surfaces meet or where the roof plane is interrupted, such as around chimneys, skylights, valleys, and walls.
Think of flashings as the gaskets of your roofing system. Just as a gasket prevents leaks in mechanical systems, flashings create watertight seals at potential entry points for moisture. Without proper flashings, even the highest-quality roofing materials will eventually allow water to penetrate your home, leading to structural damage, mold growth, and expensive repairs.
Common Types of Flashings
Understanding the different types of flashings helps homeowners and contractors ensure comprehensive roof protection. Each type serves a specific purpose and is designed for particular roof features.
Step Flashing
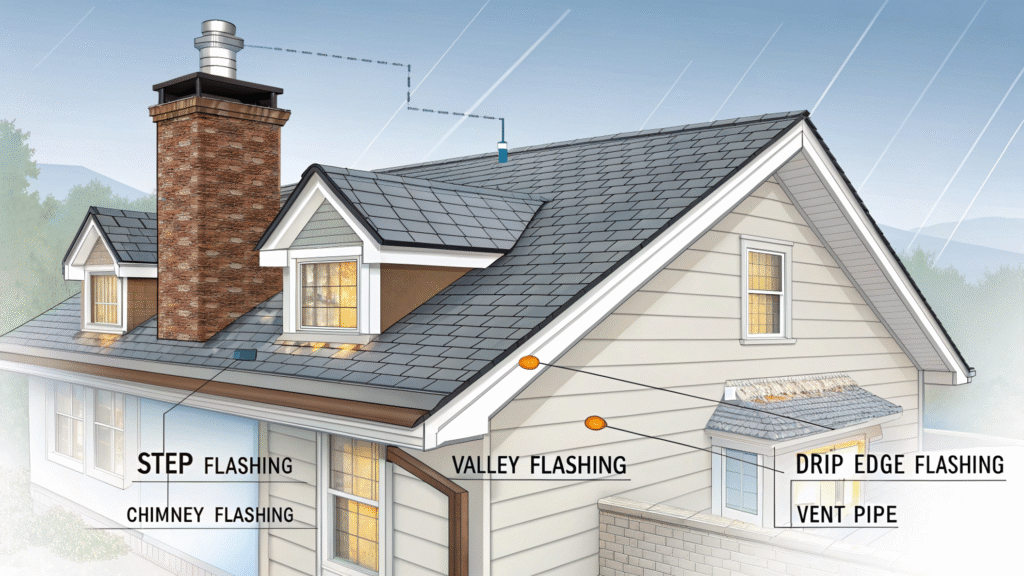
Step flashing is one of the most common types, used where a roof meets a vertical wall, such as alongside dormers or where a roof connects to a sidewall. This flashing consists of L-shaped pieces installed in a stair-step pattern, with each piece overlapping the one below it. This overlapping design ensures water flows downward without seeping behind the flashing into the wall structure.
Valley Flashing
Valley flashing protects roof valleys—the internal angles where two roof planes meet. These areas are particularly vulnerable because they channel large volumes of water. Valley flashing is typically a continuous sheet of metal, often aluminum or galvanized steel, that runs the entire length of the valley. Proper valley flashing installation is crucial since valleys experience high water flow rates during rainstorms.
Drip Edge Flashing
Installed along the roof’s edges, drip edge flashing directs water away from the fascia and into the gutters. This essential flashing type prevents water from seeping under the roofing material at the roof’s perimeter, protecting both the decking and the underlying structure. Most building codes now require drip edge installation on all residential roofs.
Counter Flashing
Counter flashing works in conjunction with base flashing, particularly around chimneys and walls. While base flashing is attached to the roof surface, counter flashing is embedded into or attached to the vertical surface (like a chimney) and overlaps the base flashing. This two-part system provides superior water protection by creating a shingle-like overlap that directs water downward and away from vulnerable joints.
Chimney Flashing
Chimney flashing is actually a combination of several flashing types working together. It typically includes base flashing around the chimney’s base, step flashing along the sides, and counter flashing embedded in the chimney’s mortar joints. Because chimneys protrude significantly from the roof plane and are subject to thermal expansion, they require especially robust flashing systems.
Skylight Flashing
Skylights represent one of the most leak-prone roof features if not properly flashed. Modern skylights often come with integrated flashing kits designed specifically for that model. These kits typically include head flashing (top), step flashing (sides), and a sill flashing (bottom) that work together to channel water around the skylight opening.
Vent Pipe Flashing
Plumbing vent pipes penetrate the roof plane and require specialized boot-style flashings. These flashings consist of a metal or rubber base that lies flat against the roof with a flexible collar that fits snugly around the pipe. The collar creates a watertight seal that accommodates the pipe’s thermal expansion and contraction.
Materials Used for Flashings
The material selection for flashings significantly impacts their longevity and performance. Each material offers distinct advantages and considerations.
Aluminum Flashings
Aluminum is lightweight, corrosion-resistant, and relatively affordable, making it one of the most popular flashing materials. It’s easy to work with and can be painted to match your roof’s aesthetic. However, aluminum is softer than steel and may be more susceptible to damage in harsh climates.
Galvanized Steel Flashings
Galvanized steel flashings offer excellent durability and strength at a reasonable cost. The zinc coating provides corrosion resistance, though this protection eventually wears away in coastal or highly acidic environments. Galvanized steel is ideal for areas requiring rigid, strong flashings.
Copper Flashings
Copper represents the premium choice for flashings, offering unmatched longevity—often lasting 50 years or more. It naturally resists corrosion and develops an attractive patina over time. While significantly more expensive than other options, copper flashings are often used on high-end homes, historic restorations, and around chimneys where durability is paramount.
Lead Flashings
Lead flashings, while less common today due to health concerns, remain highly effective and are still used in some applications, particularly in historic preservation. It is extremely malleable, allowing it to conform to irregular surfaces, and it’s incredibly long-lasting.
Rubber and Synthetic Flashings
Modern synthetic flashings made from EPDM rubber, TPO, or other polymers offer excellent flexibility and weather resistance. These materials are particularly popular for vent pipe boots and can be easier to install than metal alternatives. However, they typically have shorter lifespans than metal flashings and may degrade under prolonged UV exposure.
Signs Your Flashings Need Attention
Regular inspection of your roof’s flashings can prevent minor issues from becoming major problems. Warning signs include visible rust or corrosion on metal flashings, gaps or separation between the flashing and the roof or wall surface, cracked or deteriorated sealant around flashing edges, water stains on interior ceilings or walls near roof penetrations, and loose or missing pieces of flashing material.
If you notice any of these signs, it’s essential to address them promptly. Water damage from failed flashings can spread quickly through insulation, framing, and drywall, leading to mold growth and structural deterioration that costs far more to repair than the flashings themselves.
Professional Installation Matters
While some homeowners attempt DIY flashing repairs, professional installation is strongly recommended. Properly installing flashings requires understanding water flow patterns, knowing proper overlap sequences, selecting appropriate materials for your climate, and integrating flashings correctly with your roofing system. Experienced roofing contractors have the expertise to ensure flashings perform as intended.
Conclusion
Flashings may be small components of your roofing system, but their importance cannot be overstated. These critical waterproofing elements protect your home’s most vulnerable areas from water infiltration. Preventing damage that could compromise your home’s structural integrity and indoor air quality. By understanding the different types of flashings, their materials, and their proper maintenance. Homeowners can ensure their roofing investment remains protected for decades. Whether you’re installing a new roof or maintaining an existing one, never underestimate the value of properly installed, high-quality flashings in keeping your home safe and dry.