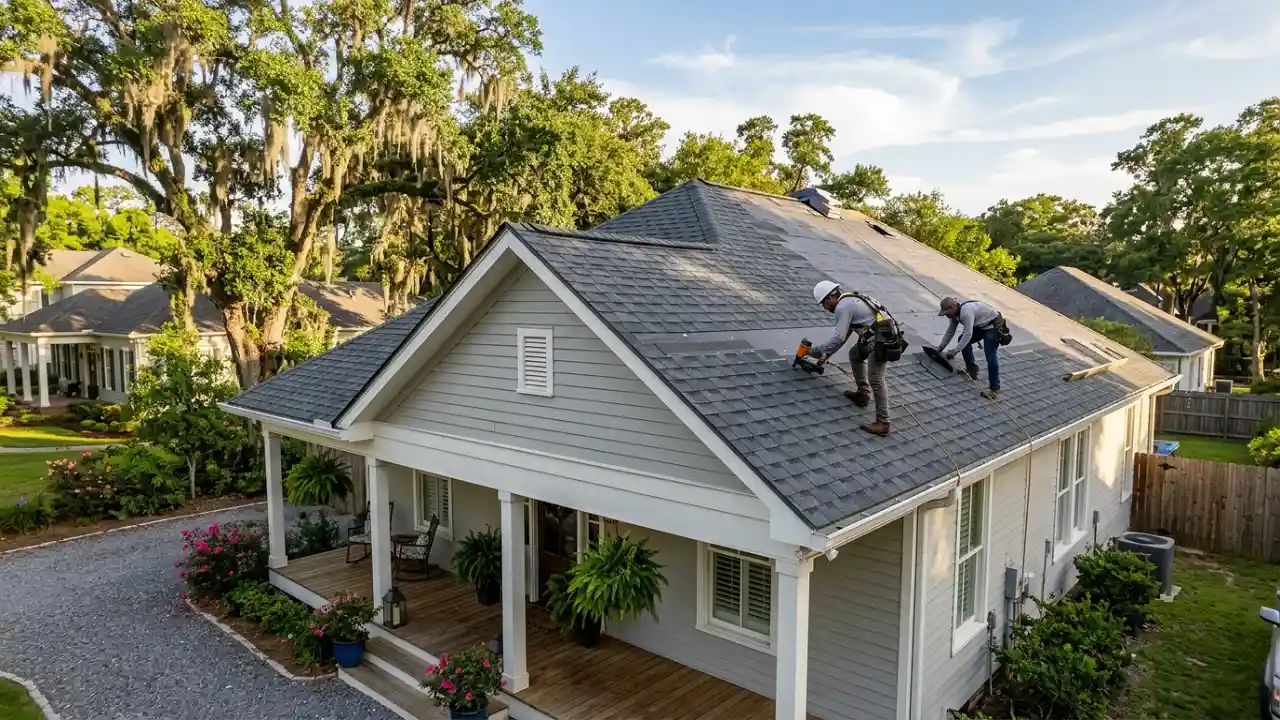
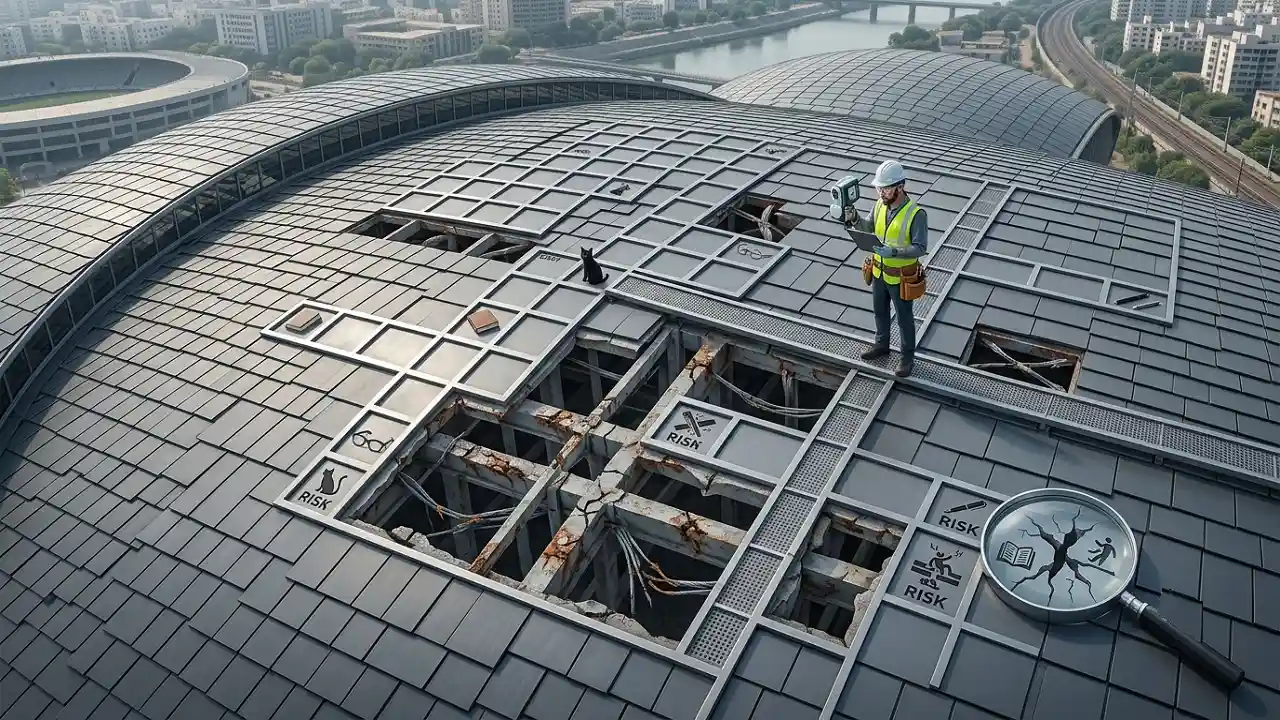
The role of drip edge roofing is to keep homes safe from water damage. Covering the edge of the roof is a metal strip that stops the rain water from going over the edge of the roof. This is a simple step to save a drip edge repair that is very costly.
What is Drip Edge Roofing?
Drip edge roofing is a metal flashing that is along the ehaves and rakes of the roof and is shaped like a L.
One side is nailed to the roof mounted underneath the other side that hangs over the fascia board. This construction helps keep water in the gutters rather than coming off and flowing underneath the shingles.

The name “drip edge” is a result because of it being a clean break to dripping water. Without it rain is free to soak the fascia board which over time rots a piece of wood underneath.
Drip edges also help rake roofs by not allowing rain to get under the shingles when the roof slopes.
Why Drip Edge Matters So Much
An effective drip edge works alongside gutters to handle heavy rain which is important in the spring. Drip edges also help prolong the life of shingles by working to protect the roof from damage due to rot underneath.
In the event of a major storm, self flap gutter systems help to avoid gutter over flow. In windy coastal areas storm drainage is very important which also contributes to the safety of the roof.
Water collects at corners and saddles. This causes homeowner issues of mold infestations, siding warping, and paint blistering.
One example illustrates, with no fascia to begin with, homeowners spend $12,000 to fix fascia rot. This example showcases how expensive rot damage can be.
For gambrel and other designs with more than two roof slopes, the drip edge promotes efficient routing of rain water, preventing water from pooling and ensuring that water can flow seamlessly.
This also satisfies building regulations for drip edges at rakes and eaves with 2 inch overlaps and is required as of 2025 for New York state.
Types of Drip Edge Available
Profile-wise, drip edges can be divided into Type C, Type D, or Type F. Type C is a less expensive style with a small lip that works best with shorter fascia boards.
Type D, also known as “T-style,” is best for optimally flow water away from the fascia and is the most compliant with building regulations.
For longer front edges, Type F shines. Its application works best for rakes or overlying older Roof Damage. The drip edge comprises up of 24-gauge steel for wind resistant constructions, aluminum for less expensive constructions, and 0.69 mm copper for more expensive conformations with arthritis.
On roofs, you should especially avoid plastic constructions as they tend to lack structural durability.
Drip Edge Material Comparison
This table portrays options of drip edge based on performance and pricing in the year 2025 on the market presently.
| Material | Gauge/Thickness | Best Use Case | Cost per Linear Foot | Durability (Years) |
| Aluminum | 0.027 inch | Budget-friendly eaves/rakes | $0.50–$1.00 | 20–30 |
| Galvanized Steel | 24-gauge | High-wind areas | $0.70–$1.20 | 30–50 |
| Copper | 20 oz (0.69 mm) | Premium aesthetic appeal | $2.50–$4.00 | 50+ |
| Custom Metal | Varies | Flat or gambrel roofs | $3.00+ | 40+ |
Benefits for Roof Longevity
By streamlining how water enters the gutters, drip edge also allows gutters to work more efficiently. This enhanced functionality maximizes longevity of the roof and significantly reduces the threat of leaks on steep-roofed designs.
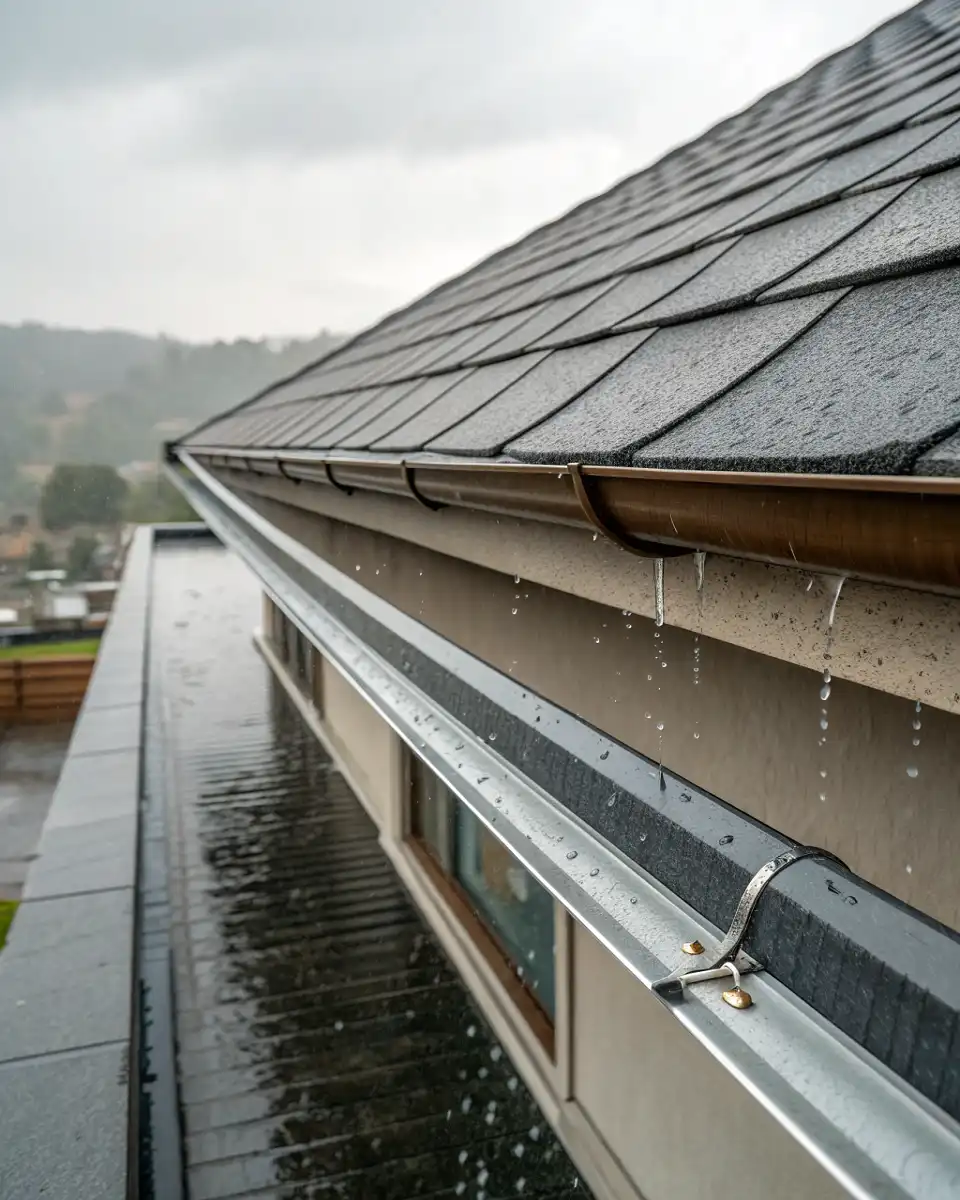
When done correctly, it obtains \1/4 inch drop below sheathing and 2 inch above the deck, complying with the 2025 IRC updates.
Also, it protects from critters and ice dams. The code in wet climates, like Vancouver, has now made it mandatory for wind-driven rain.
Installation Steps Guide
Starting from the eaves, nail the drip edge to the deck before the underlayment, 8-12 inches apart. \Overlap by 2 inches, and use roofing cement to seal the joints, and below.
For rakes, underlayment goes first, and the drip edge goes over it. Avoid any small gaps by cutting corners properly, and adjust for slope breaks to avoid gaps on gambrel roofs.
2025 Code updates and Standards
Drip edge at eaves and rakes is now required by the 2025 IRC and local codes, like New York’s. Fasteners, 12 inches apart max, and 2 inch overlap max.
Vancouver’s RCABC manual has flashings in metal on all projects, with tighter spacing in windy areas. These rules rise from growing storm damage claims.
Cost and Savings Breakdown
During reroofing, new installs cost from $1.50-3.00. For a normal house, that goes from $150-600. 5.00-9.00 for each foot goes for retrofitting for shingle work, which is more expensive.
Avoiding repairs that cost $10,000 or more is where the savings are. Prevented rot on a 100 foot edge pays for itself.

Common Mistakes to Avoid
Rake edges leaving the sides exposed are a mistake people commonly make.
Nailing only to the fascia instead of the deck allows the wind to lift it. Poor overlaps also lead to leaks.
On steep roof slopes, use heavier gauges. Always review local codes before starting. This section of the code has also been reviewed and approved up to the year 2025.
When to Inspect or Replace
Check the drip edge every year for existing dents or rust. Replace during a re-roof or if adjacent rot shows. Rake roof issues are often spotted by pros.
2025, with its stricter codes, will see upgrades using custom profiles for flat or more complex shapes.
Drip edge roofing provides outsized protection for minimal effort and cost. It gives home owners the peace of mind they want from leaks and doesn’t let the wood rot. Drip edge roofing protects your investment if it’s installed correctly.
For More Roof Repair and Maintenance Visit Classic Roofing Restoration Page